The bathroom had a big mirror glued to the wall, like many bathrooms have. I wanted to save the mirror, to be reinstalled after the installation of the granite top. So of course, the problem is how to get the mirror of in one piece without damaging it! So I went on the internet to find out. There are a lot of crazy suggestions out there on this subject , but the one that stuck out as sensible I used with success. Starting at one of the top corners, take a flexible 'feeler' like a springy metal wire or ruler and use it to locate one of the globs of glue that holds the mirror to the wall. Mark the mirror with a wax crayon where this spot is. Now use a wooden wedge (you can buy a package of wedges at the hardware stores) and wedge it snugly between the mirror and the wall, taking care not to put too much pressure on the mirror! Too much force will break the glass, so easy does it... Now use a hairdryer to warm up the spot you marked holding the dryer about six inches away and making tiny circles. With the other hand push the wedge in slowly as the glob of glue starts softening up. Eventually the glue will let go, sometimes with an audible pop. Use your feeler tool for the next glue spot, etc. etc. I bought some handles with suction cups on the ends at Harbor Freight, not that I'm advertizing for them but they were real reasonable. You need these handles to lift and move the mirror, it will be heavy! The round marks on the wall is where the globs of glue were. The glue is some kind of tar I think.

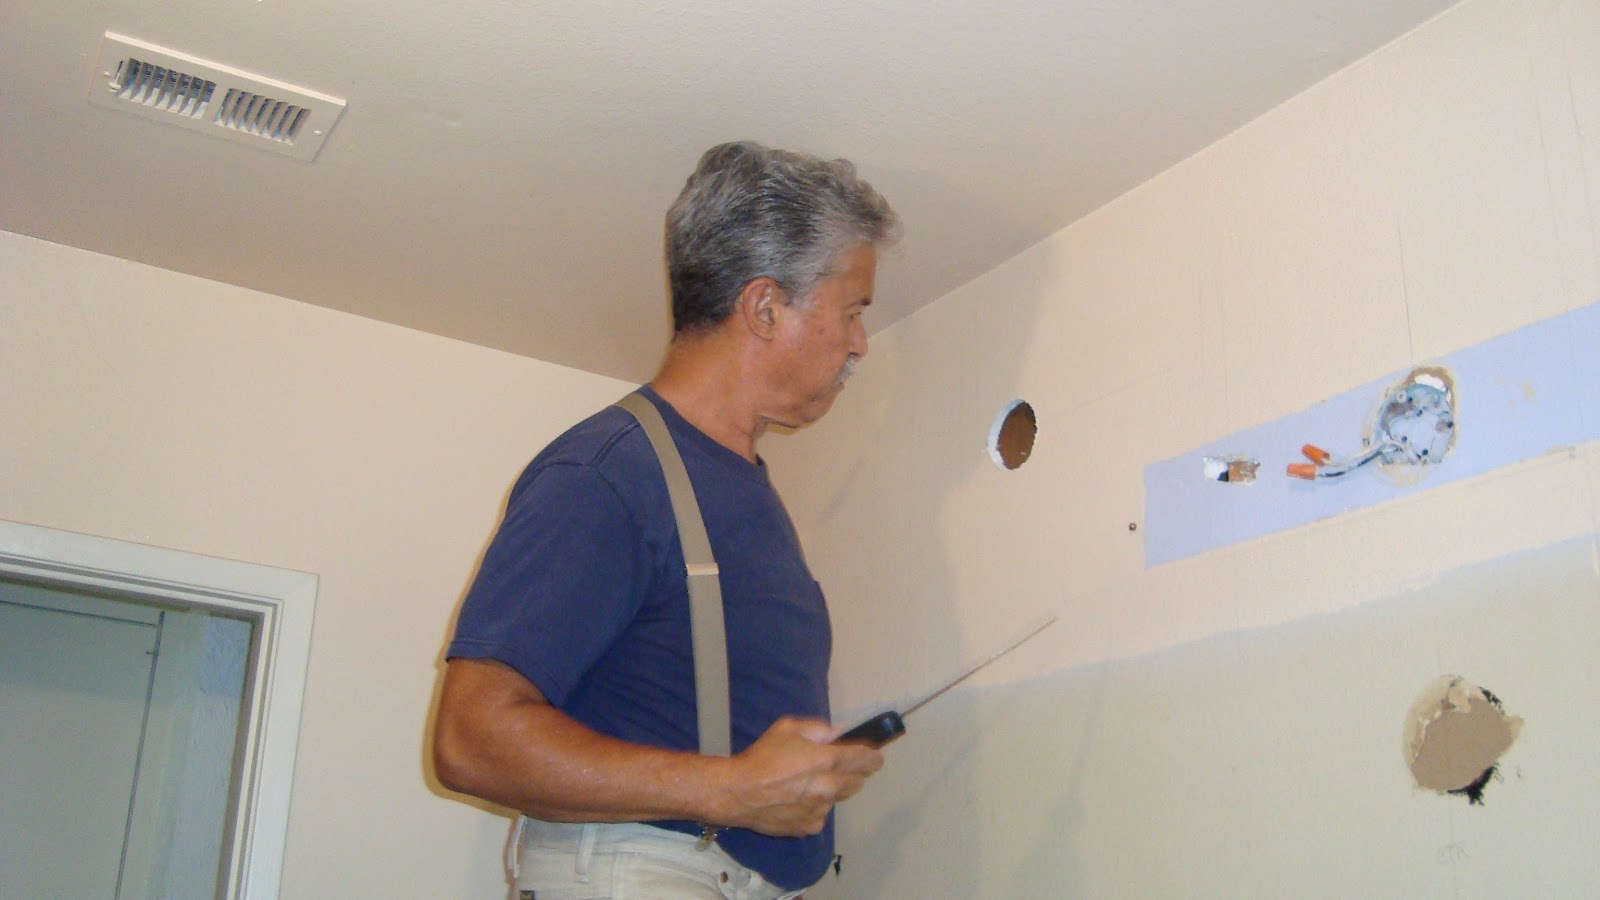
After removing the old light fixture I'm running new electrical wiring to the two new locations (see hole).
Well, one fixture is installed temporarily To see what it will look like.
To save on expenses I decided to reuse the existing cabinets and just spruce them up with some trim on the edges of the doors and drawers. If you do this and decide to paint the cabinet than there is no need to use expensive wood for the trim. I found that regular baseboard trim would work fine in my case. Now is also the time to put self-closing hinges on the doors. Make sure that the trim you pick is not too thick, otherwise you will have problems opening the doors fully!
As you can see the granite installers have done their job. When you look for granite, don't buy a whole slab. Ask were the remnants are (from people that did pay for a whole slab) and pick one you like, making sure it's big enough for what you need. Granite comes in two thicknesses, at least here were I live. Sometimes it does not make a difference in price when you use a remnant. I picked the thick granite.
Just installing the sinks using clear silicone glue. Clean it up with rubbing alcohol.
After prepping the wall I started painting the wall green so it will look good with the existing dark green ceramic floor tiles.
Working on the plumbing. Don't use the old plumbing. It's does not cost that much, so it makes sense to put in new plumbing.
While all this stuff was going on in the bathroom I was also re-doing the mirror by giving it a new look with some trim. This trim is glued, using silicone glue, to the rim so that the edges of the mirror and trim line up. I used those plastic spring-loaded clamps to hold the trim while the glue is curing. Lay the mirror on it's back on some support when you do this. As you can see I decided to make the trim look old by crackling the paint using 'Crackle' made by Behr Premium Plus no.755. Follow the instructions and practice on leftover pieces of wood first. Below is how the mirror was held against the wall while the special mirror glue is curing. This glue will not hurt the mirror finish. Use a long screw into the stud.
A added touch with a hand support for the old folks! Remember eventually you will get old too!
OK it's all done and I hope you'll like it and that this will help you with your bathroom makeover!